Curtain Installation Step-by-Step Guide
Curtains help to set the tone of your room’s style and provide a wonderful covering for your windows. They are beneficial window coverings, widely used to decorate your room. Luxury Curtains can be upgraded by layering for a polished and professional look.
Additionally,
Multiple benefits make life easier for the homeowner. They add colour, texture, and control over privacy and light. You can lose the charm of your beautiful curtains If not properly installed. But using this guide, you can confidently curtain installation neatly.
Let’s begin exploring the benefits and purpose of curtains.
Which Type Of Benefits Do Curtains Have?
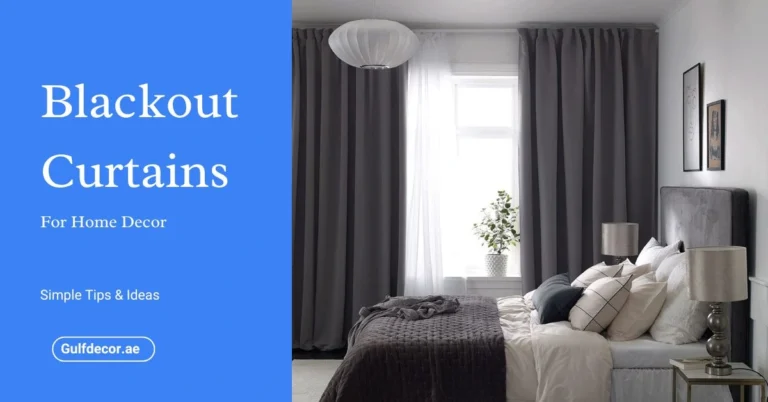
If you want proper function in your home, then you should definitely install curtains. The biggest benefit of curtain installation is control of natural light. You can darken and brighten your space according to your desire. Blackout curtains and light-blocking curtains help you enjoy full privacy.
Moreover,
Curtains also give energy-efficient benefit. Because the blackout curtain’s thermal lining maintains temperature. Keeping inside cool on hot days and hot on cool days, and are responsible for reducing electricity expenses. Let me tell you something more mesmerizing: their thick fabric also reduces noise or by blocking light, they protect your furniture and flooring from sun damage. Then the colour and quality of furniture and flooring remain the same.
Now let’s start with a step-by-step guide.
- Gather All The Tools
Before starting the process, gather all the tools in one place.
Here is the tool that is needed:
- Measuring tape
- Level and pencil
- Drill and screws
- Mounting brackets
- Curtain rods or tracks
- Wallplug Ladder or step stool
- Curtains and hanging accessories
- Measure the Window
To curtain installation properly, accurate measurement is key. A small mistake can ruin their look. Now follow these steps:
- For measuring the width, firstly measure the original size of the window. Then add 6-10 inches on both sides. Then it will fully cover your window
- For measuring the length, consider the modern trend. In which hanging curtains from the ceiling to the floor to give a sleek look.
Choose The Perfect Hardware
After taking proper measurements, now it’s time to purchase curtains, rod and brackets. This also needs to be done according to your window and curtains, which can be tricky. Do you want to know: why rods or curtains are important in the process of installation? Rod and brackets have functional and aesthetic roles that provide stability for curtains after installation.
Selecting tips:
- Before choosing the rod, consider the fabric of your curtains. If it’s thick, you’ll need a strong rod. Metal rods are most beneficial as they can easily handle heavy fabric.
- But the fabric is not heavy, so wooden or plastic rods work fine. To add style, use stylish rods and brackets that fit perfectly.
Now Install The Bracket
After choosing the rod and brackets, it’s time to install them on the wall.
- Take a pencil to mark the area. Then mark the window 4-5 inches wider than the original width. Also mark 6-7 inches above the window.
- At these marks, drill the hole with the help of a drill, then insert a wall plug into the wall, and secure it.
- Then attach the bracket to that point and tighten the screws by using a screwdriver.
But let me tell you something interesting: there is a need for an extra bracket to add in the middle to provide extra support due to their heavy weight.
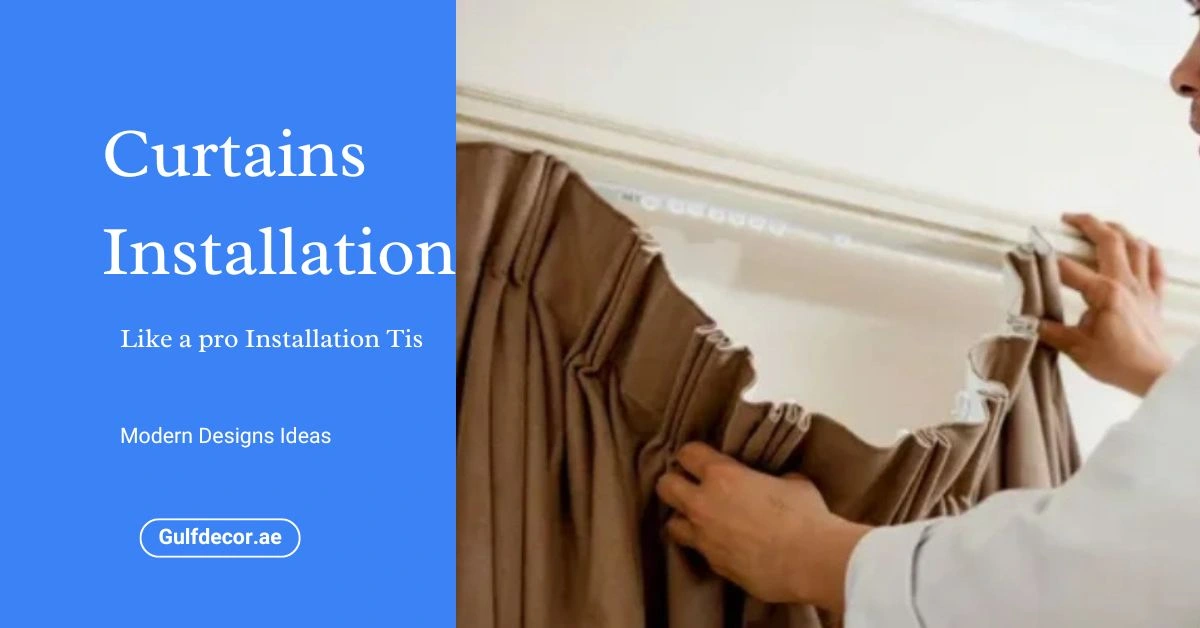
Elegantly Hanging Curtains
After doing all the steps, do the fun part, that is, hanging curtains.
- Slide the curtains onto the prepared rod using hooks/rings, then set it and add perfect finials.
- Place the rod onto the mounted bracket. Set the fabric evenly on both sides.
That makes the appearance of your room more beautiful than before.
Final adjustment
After completing all the steps, if you want to make a big difference, then style your curtains. You can try these ideas:
- Use a steamer and iron to remove all the wrinkles.
- To create a natural fabric fall, adjust the drapes
- If you want a sophisticated look, then add a tieback.
- For the nighttime flexibility, layer blackout curtains with the sheer curtains
Caring tips
Along with curtain installation, cleaning is also very important to maintain the beauty.
- Use a vacuum cleaner to remove the dust weekly.
- For stain, use a mild solution for spot cleaning
- Follow the fabric cleaning instructions, if provided.
- Don’t use a strong detergent that damages the lining.
Conclusion!!!
After learning the curtain installation process, you’ll be confident about your space, knowing that it will definitely look fantastic. Using the right tool with patience and accurate measurement helps you hanging curtains professionally. Whether it’s blackout curtains, light-blocking curtains, or energy-efficient curtains. In this blog, we’ve covered all the steps of installation. Hope you like this blog. Share it with your friend who might know the process of installation process.