How to French Braid Your Own Hair: A Complete Step-by-Step Guide
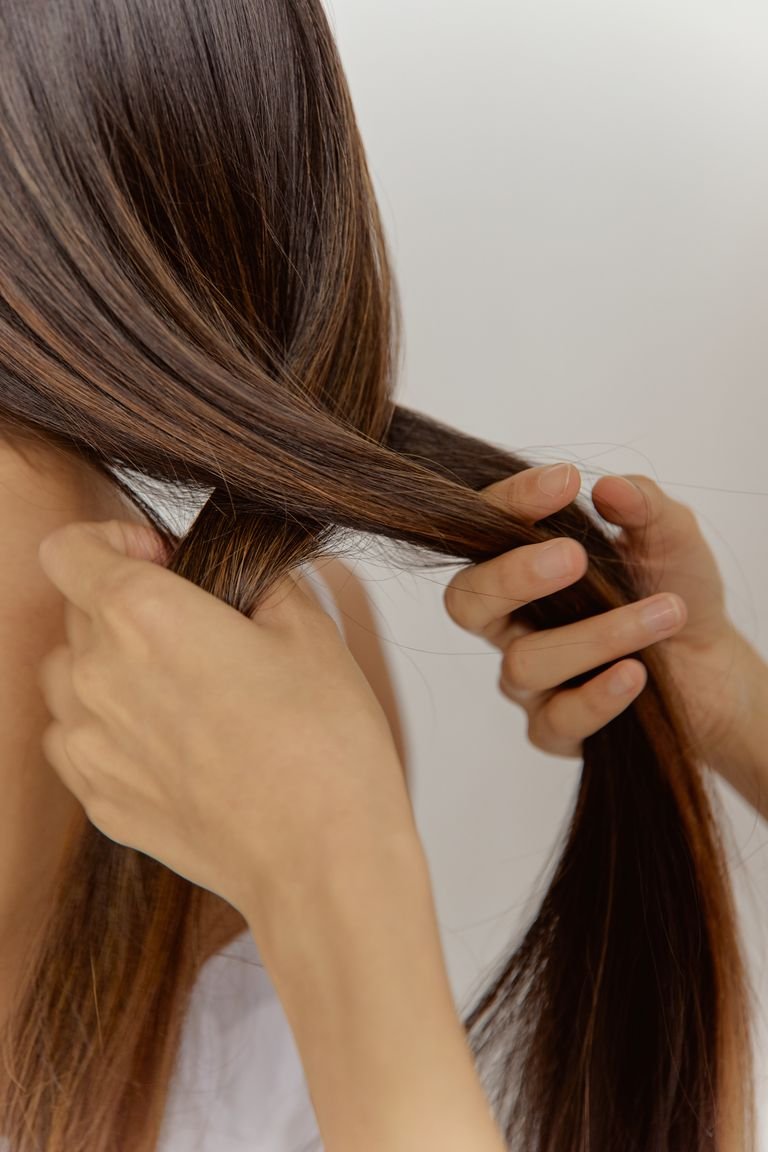
The French braid is one of those skills that looks complicated from the outside and genuinely is a little fiddly the first few times, mostly because you’re working blind on the back of your own head. Once your hands learn the motion though, it stops requiring much thought at all. This guide breaks the technique down into steps you can actually follow, plus the fixes for the specific things that go wrong for almost everyone starting out.
If you already know the basic braid types and just want style ideas once you’ve got this technique down, our guide to 10 braid hairstyles for women covers the fishtail, waterfall, four-strand, and other variations built on this same foundation.
What You Need Before You Start
A wide-tooth comb or detangling brush, a hair elastic, and a mirror are the only real requirements, though a second handheld mirror angled behind your head makes the first few attempts considerably easier since you can actually see what your hands are doing. If your hair is freshly washed and slippery, a texturizing spray or a small amount of dry shampoo worked through the roots gives the strands enough grip to hold the braid instead of sliding apart as you work.
How to French Braid Your Own Hair, Step by Step
1. Start with a clean part. Comb your hair straight back and decide on a center or side part running from your hairline to the crown. A clean, even part at the start makes a visible difference in how symmetrical the finished braid looks.
2. Section a small piece at the crown. Take a two to three inch wide section of hair at the top, near your hairline, and split it evenly into three strands: left, middle, right.
3. Do one or two standard crosses first. Cross the left strand over the middle, then the right strand over the middle, just like a regular three-strand braid. This anchors the braid before you start adding hair.
4. Add hair to the right strand, then cross. Pick up a small new section of loose hair from the right side of your head, combine it with the right strand, and cross the combined strand over the middle.
5. Add hair to the left strand, then cross. Do the same on the left: gather a small new section, add it to the left strand, and cross over the middle. This alternating add-and-cross pattern, right then left, is the entire technique repeated down your head.
6. Keep sections small and even. The single biggest factor in how neat the finished braid looks is keeping each new section roughly the same size as the last. Slow down here rather than rushing; uneven sections are the most common reason a French braid looks lumpy rather than smooth.
7. Stop adding hair once you reach the nape. When there’s no more loose hair left to gather in on either side, stop adding and continue with a plain three-strand braid down the remaining length.
8. Secure and adjust. Tie off the end with a hair elastic. If you want extra volume, gently pinch and pull apart the edges of each woven section, working from the bottom up, a technique often called pancaking, which widens the braid and softens its texture.
Getting the Tension Right
Keep your hands close to your scalp throughout, and pull each cross snug before moving to the next. Braiding with your hands held away from your head is the main reason braids come out loose and start unraveling within an hour. That said, snug doesn’t mean painfully tight, especially near the hairline, where excess tension over time can contribute to breakage and, with repeated tight styling, traction alopecia. A good rule of thumb: the braid should feel secure and hold its shape when you tug gently on the end, not painful against your scalp while you’re doing it.
French Braiding by Hair Type and Length
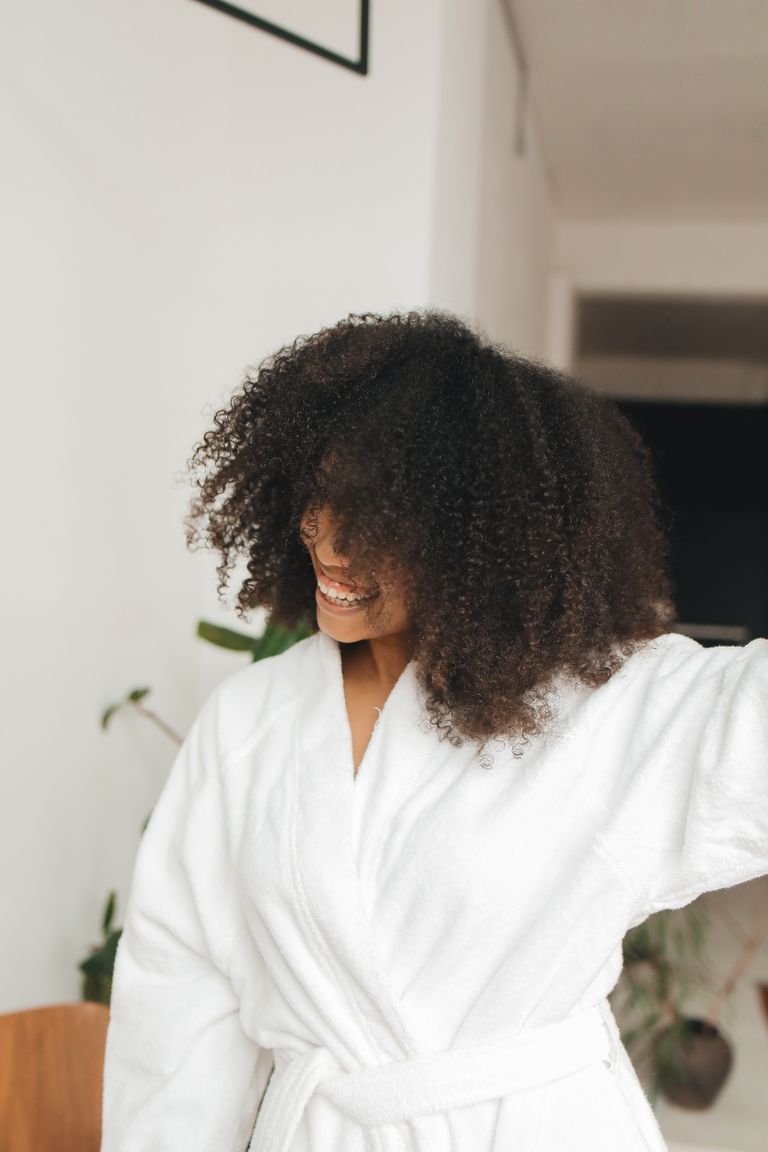
Straight and wavy hair generally holds a French braid well once it has a little texture to grip, whether from second-day hair or a texturizing spray. Curly and coily hair benefits from detangling with a leave-in conditioner first and a small amount of cream or curling butter worked through before braiding, which reduces frizz and makes each section easier to separate cleanly; keep tension looser throughout to protect the hairline. Hair shorter than shoulder length can still be French braided, though it takes smaller starting sections and more frequent pinning of shorter pieces that pop loose near the front, and a bob or lob generally only holds the plaited section for the first few inches before running out of length to weave.
Common Mistakes and How to Fix Them
| Problem | Likely Cause | Fix |
|---|---|---|
| Braid looks bumpy or lumpy | Sections weren’t combed or separated cleanly before crossing | Lightly comb or smooth each section with your fingers right before you add it |
| Braid loosens or slides out within an hour | Hands were held too far from the scalp while braiding | Keep hands close to the head and tighten each cross before moving on |
| One side looks thicker than the other | Uneven section sizes, usually from rushing | Slow down and consciously match each new section to the previous one |
| Flyaways along the part or hairline | Fine, layered, or freshly washed hair | Smooth a small amount of light gel or edge control along the part before starting |
| Braid feels tight or the scalp is sore afterward | Tension pulled too tight, especially near the hairline | Loosen your grip on the first few crosses nearest the front hairline |
French Braid Variations Worth Trying Next
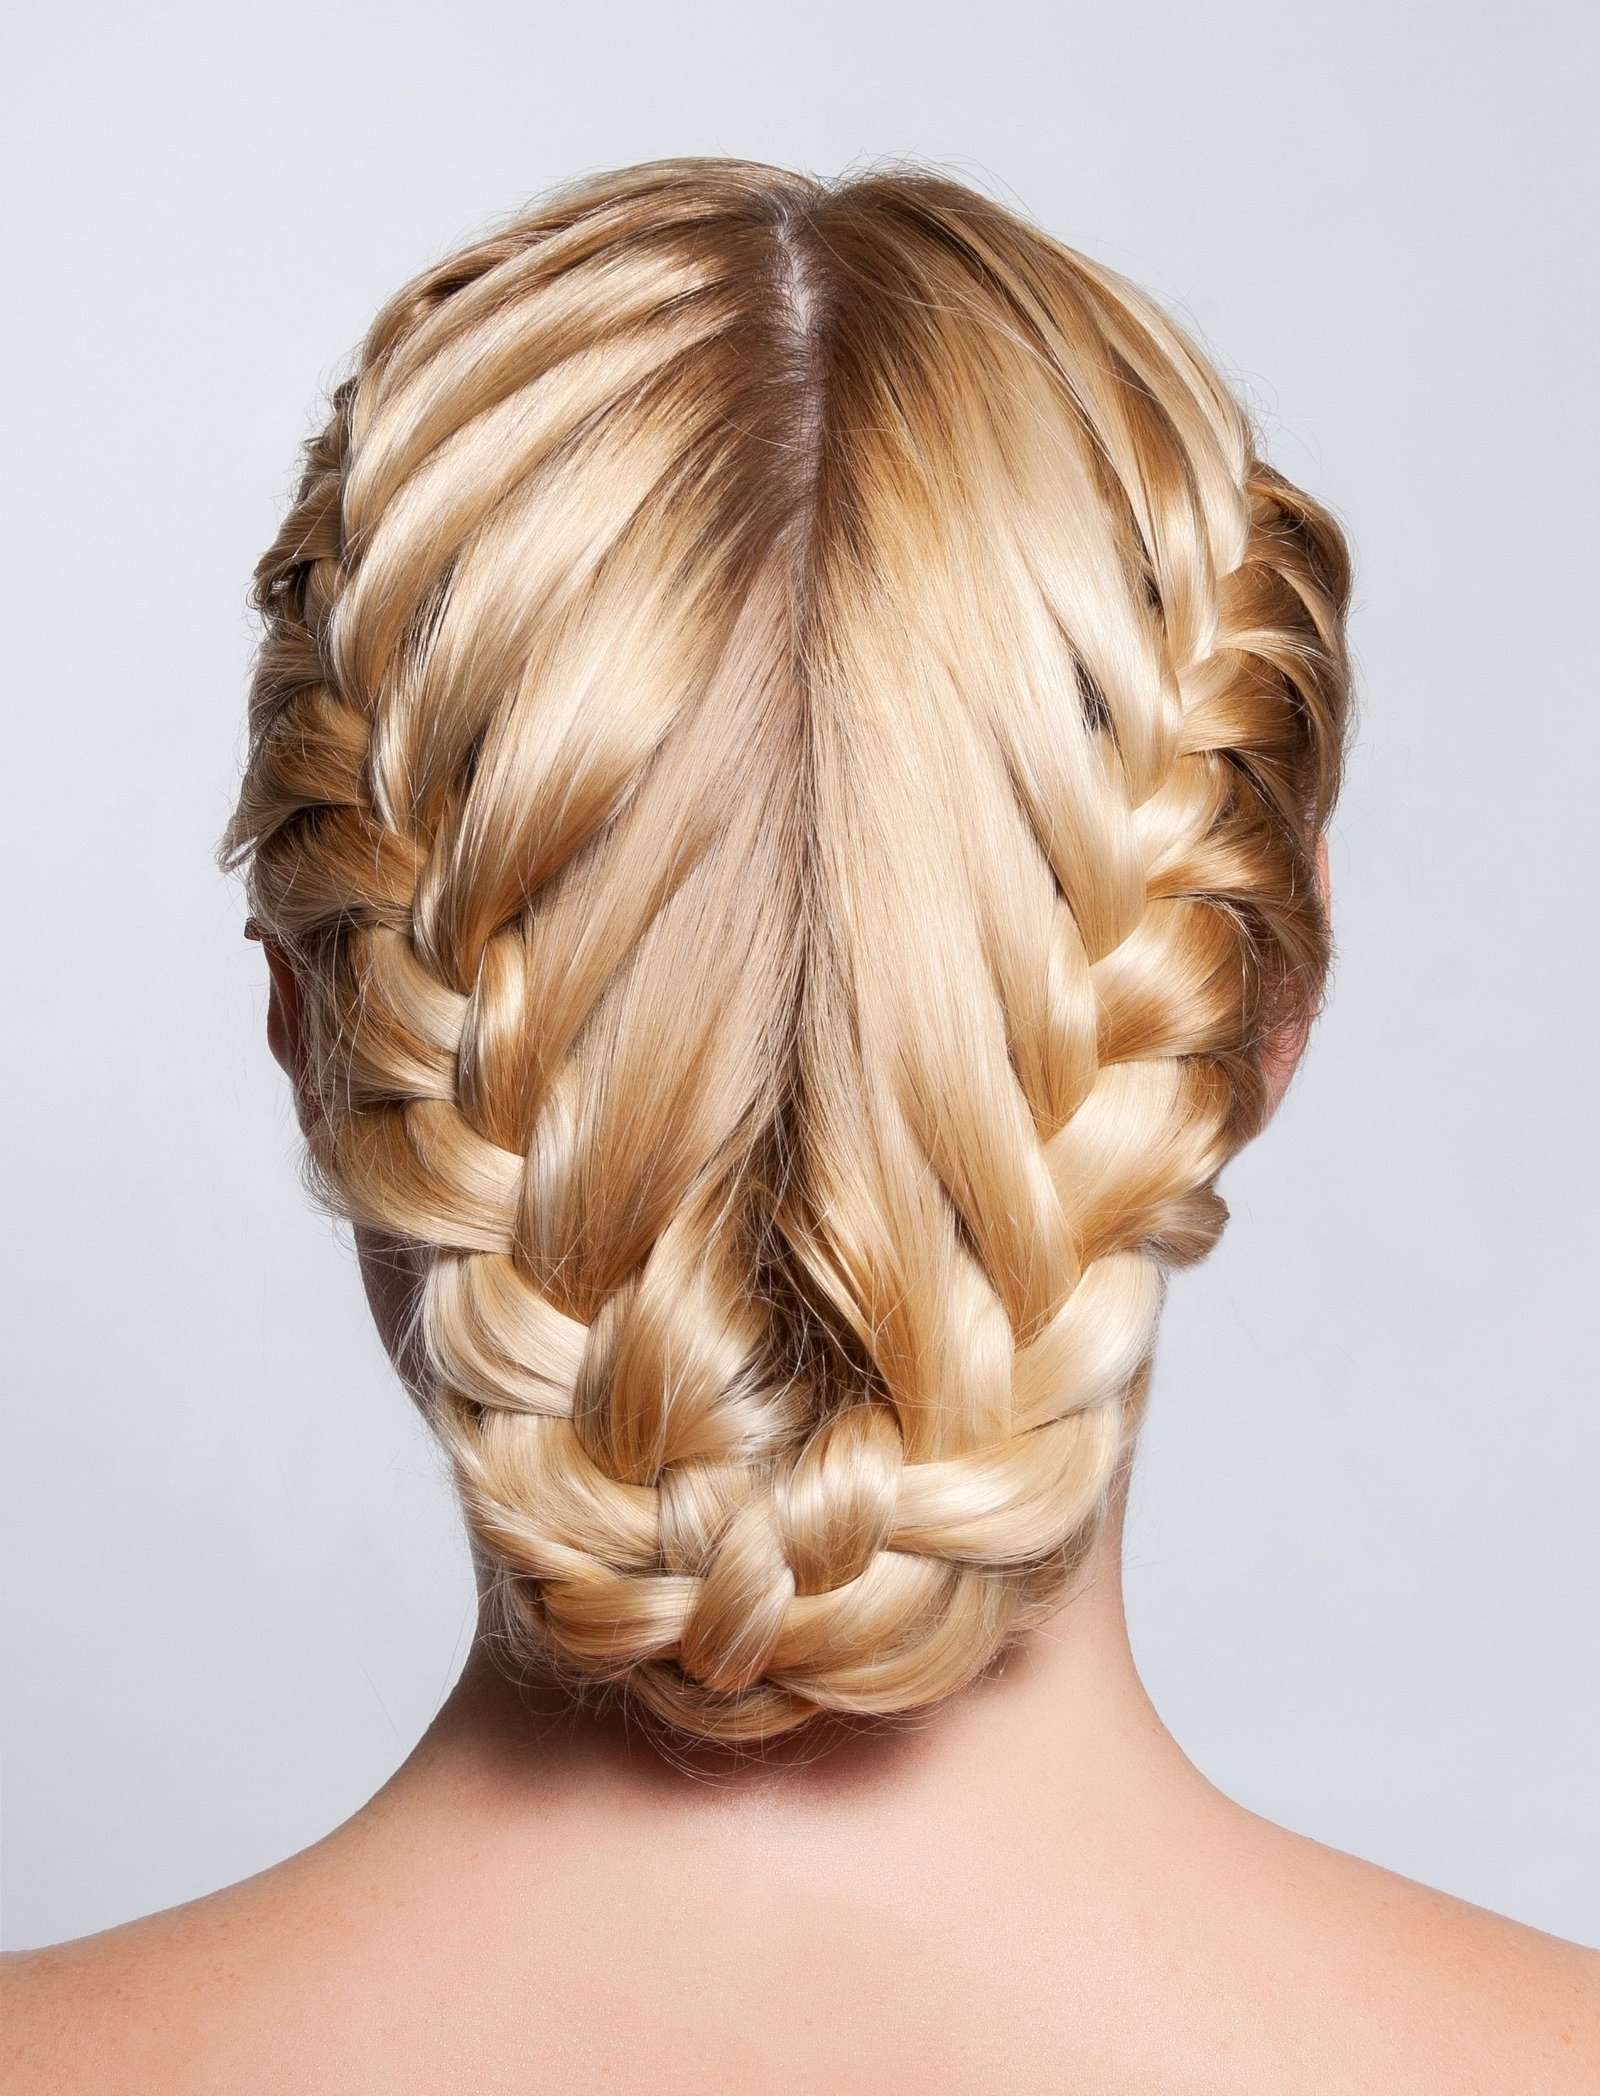
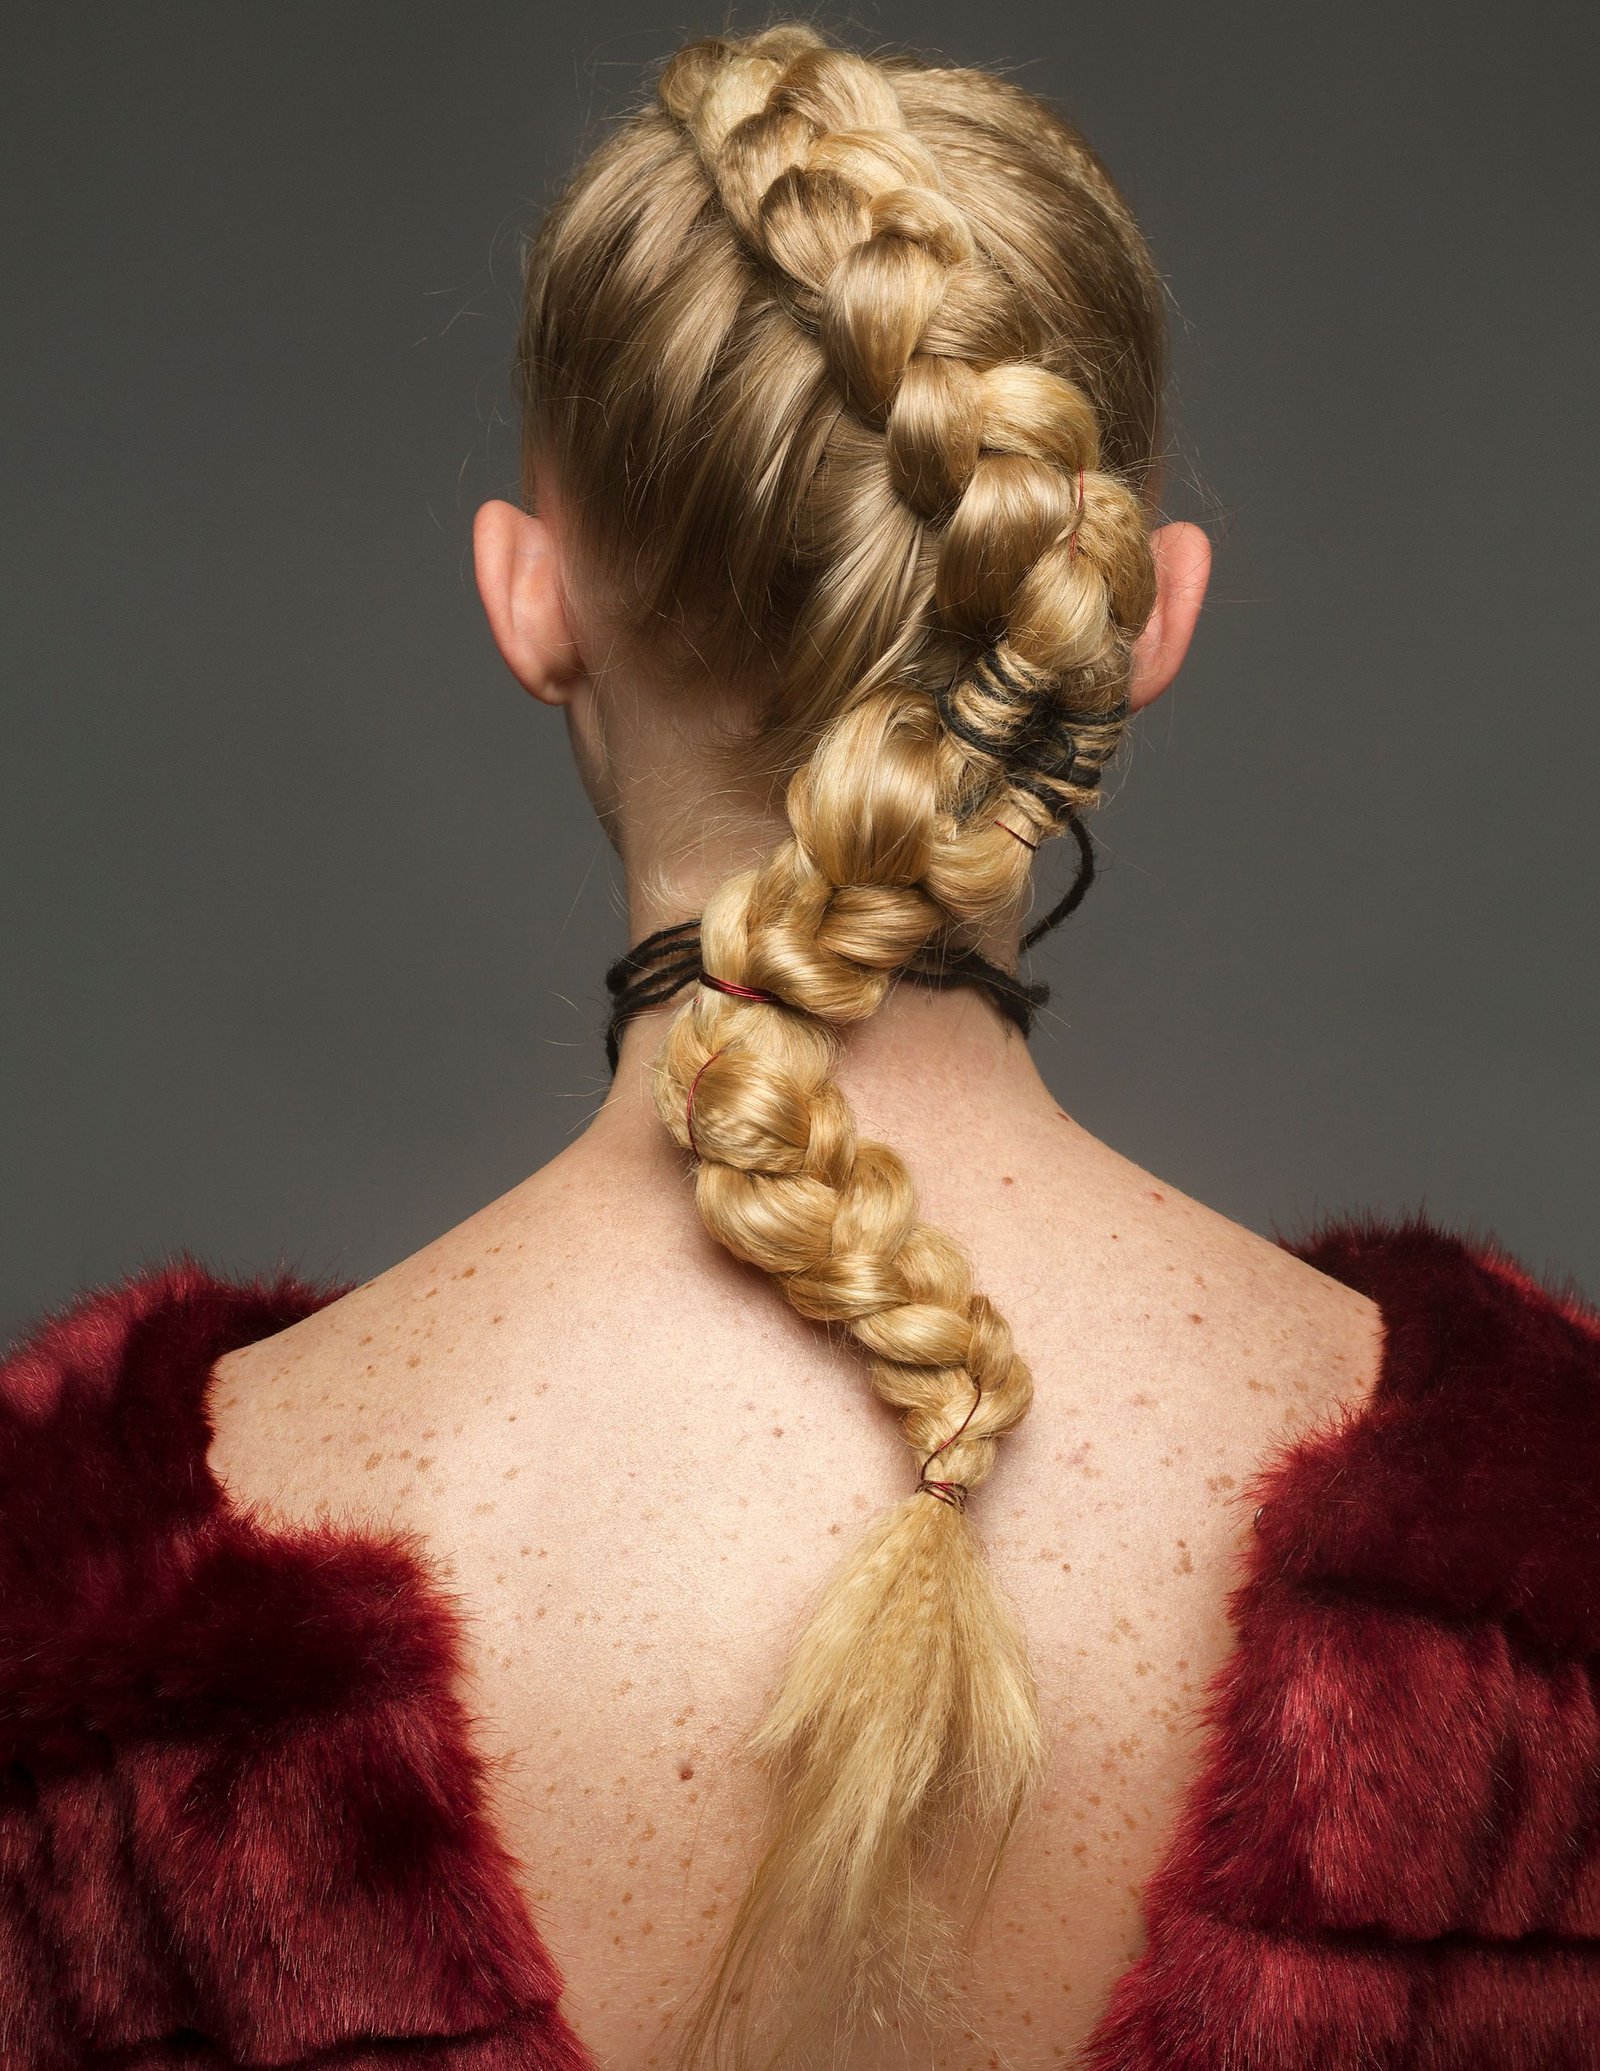
Once the single center braid feels comfortable, two French braids, sometimes called French pigtails, use the exact same technique split down a center part into two braids instead of one, and tend to hold up even better through a full active day since the weight is divided. A French braid can also feed directly into a bun or updo once you reach the nape instead of finishing as a plain braid down the length. For more advanced variations built on the same underlying motion, including the fishtail, waterfall, and four-strand braid, our full braid hairstyles guide walks through each one in detail.
Making a French Braid Last Longer
Braiding hair that’s a day or two past washing holds noticeably better than freshly washed hair, since some natural oil and texture gives the strands more grip. A light texturizing spray recreates that same grip on cleaner hair. Braiding while hair is damp, not soaking wet, and letting it air dry fully in the braid before removing it also helps the finished shape hold once you take it out.
Frequently Asked Questions
Why does my French braid always come out lopsided?
Uneven section sizes are the most common cause. Slow down on the sections nearest your hairline, where it’s hardest to judge size by feel, and try to keep each new piece roughly the same width as the one before it.
Can I French braid my own hair without a second mirror?
Yes, though it takes more practice. Most people find it easier to learn the motion with a handheld mirror angled behind the head for the first several attempts, then can braid by feel alone once the pattern becomes familiar.
Is a French braid bad for hair health?
A properly tensioned French braid isn’t harmful. The risk comes from braiding too tightly, especially repeatedly at the same tension near the hairline, which can contribute to breakage or traction alopecia over time. Loosening tension slightly at the front and giving hair occasional breaks between styles reduces that risk.
How long does hair need to be for a French braid?
Shoulder length is generally the practical minimum for a full braid down the length, though shorter hair, including a long bob, can hold a partial French braid for the first few inches before running out of length to weave.
What’s the difference between a French braid and a Dutch braid?
A French braid crosses each new section over the middle strand, so it sits flat and blends into the rest of the hair. A Dutch braid crosses underneath instead, which makes the braid sit raised on top of the hair for a bolder, more three-dimensional look.
Final Thoughts
The French braid is entirely a matter of muscle memory rather than natural skill, and the difference between a first attempt and a tenth attempt is usually dramatic. Focus on keeping sections small and even and your hands close to the scalp before worrying about speed. Once the motion feels automatic, it becomes one of the fastest, most secure styles available for any day you don’t want to think much about your hair.