Curtain Installation Step-by-Step Guide
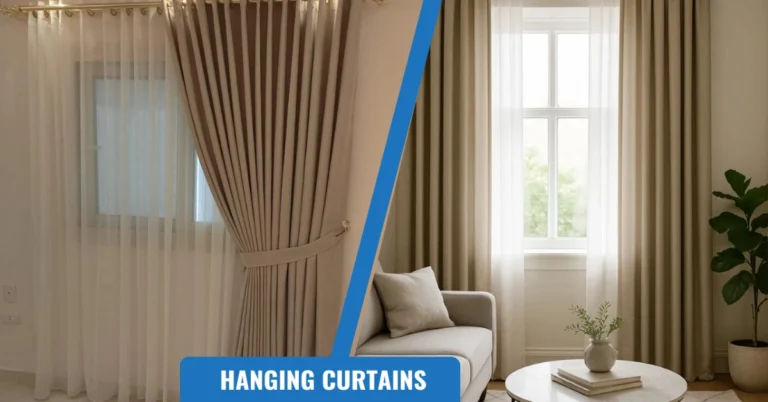
Quick answer: The part of curtain installation that actually goes wrong is the wall, not the rod. Most UAE apartments and villas have solid concrete or block walls behind the plaster, which need masonry-specific drill bits and concrete-rated anchors — a standard drywall plug will pull straight out under the weight of a lined curtain. This guide walks through the full process, tool by tool. For the exact height, width, and fullness measurements to mark before you drill, see our companion guide on hanging curtains correctly — this article focuses on the physical installation itself.
Tools You Actually Need
- Tape measure and a spirit level (a phone level app works, but a physical level is more accurate for a wide rod)
- Pencil for marking bracket positions
- Power drill with a masonry drill bit — this is the detail most DIY attempts skip, and it’s the one that matters most on concrete or block walls
- Concrete-rated wall plugs (anchors) and screws sized to your bracket’s screw holes, not generic drywall anchors
- Screwdriver or drill driver bit
- Curtain rod or track, brackets, rings or hooks
- Step stool or ladder rated for the height you’re working at
Why Wall Type Changes Everything
Most homes in the UAE are built with reinforced concrete or concrete block walls finished in gypsum plaster, not the wood-stud drywall common in North American installation guides. That distinction matters because a standard plastic drywall anchor has almost no grip in solid concrete — it will spin freely in the hole or pull out the first time someone tugs the curtain shut. Use a masonry drill bit (visibly different from a wood/metal bit: wider flutes and a carbide tip) and concrete-specific anchors and screws, which are rated to carry real load against the wall’s density. If you hit a hollow section — some interior partition walls use lightweight block or hollow gypsum board — switch to the appropriate hollow-wall anchor for that section rather than forcing a concrete anchor into a cavity.
Step-by-Step Installation
1. Mark the bracket positions
Using your level, mark bracket height and side positions per the measurements in our hanging curtains sizing guide (generally 4-6 inches above the window frame and 3-6 inches past each side). For rods over roughly 60 inches wide, mark a center bracket position too — unsupported spans that long will sag under a full-length lined curtain.
2. Drill and anchor
Drill each marked point with the masonry bit, insert the concrete-rated wall plug fully flush with the wall surface, then drive the screw partway in before attaching the bracket — this keeps the plug from spinning loose while you position the bracket.
3. Mount the brackets
Attach each bracket and fully tighten. Before moving on, do the tug test: pull down and toward you on each bracket with real force. If a bracket flexes, creaks, or shifts at all, remove it and re-anchor rather than proceeding — this is the step most DIY installs skip, and it’s the one that prevents a rod from coming down months later.
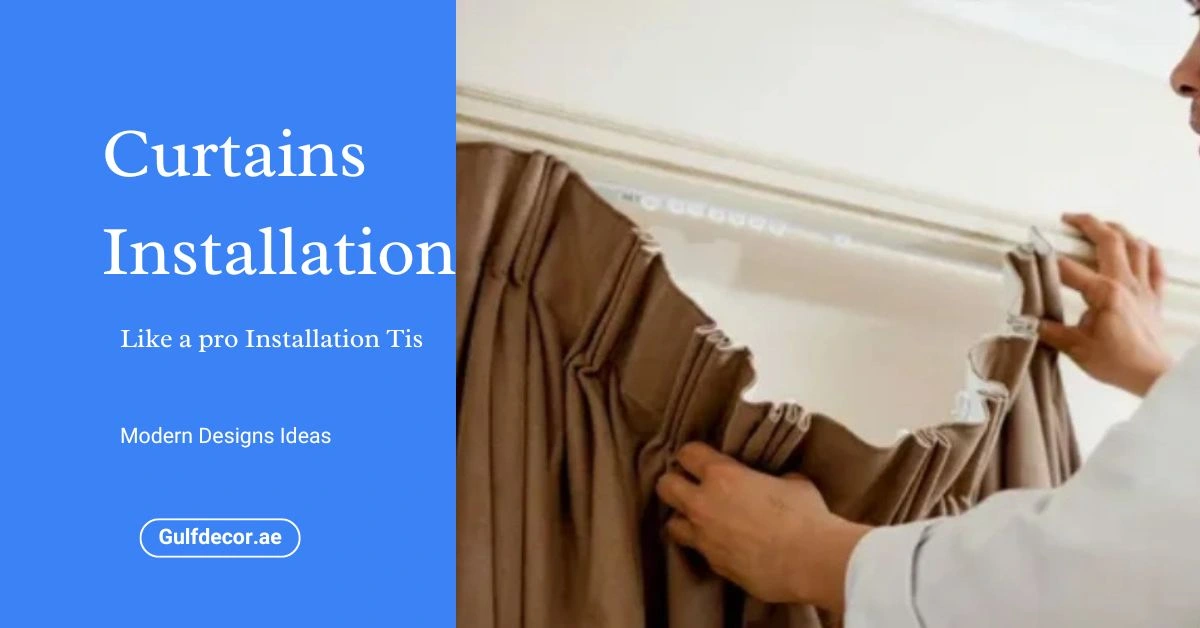
4. Hang the rod and curtains
Thread rings or hooks onto the rod first, then rest the rod onto the mounted brackets and secure any finial caps or safety clips. Distribute the fabric evenly across the rod before letting it hang so the pleats or grommets fall in an even rhythm rather than bunching to one side.
5. Finish and style
Steam or iron out transport creases, arrange folds so the fabric falls in consistent vertical lines, and add a tieback if you want the panel held open during the day. If you’re layering a sheer with a blackout panel, mount the sheer on an inner bracket closer to the glass and the blackout on the outer bracket — see our layering installation guide for the bracket spacing that setup needs.
Care After Installation
Vacuum curtains weekly with a soft brush attachment to keep dust from settling into the weave, spot-clean stains promptly with a mild solution rather than waiting and scrubbing, and always follow the fabric’s specific care label — a strong detergent or high heat can break down a blackout lining’s coating well before the fabric itself wears out.
Frequently Asked Questions
Do I really need a masonry drill bit, or will any drill bit work?
On concrete or block walls, yes — a standard bit built for wood or metal will barely mark the surface and will dull quickly trying. A masonry bit’s carbide tip is what actually cuts through concrete and block.
How do I know if my wall is concrete or drywall/gypsum board?
Knock on it. A solid, dull thud with no give is concrete or block behind plaster. A hollow, resonant sound means gypsum board or a hollow partition, which needs different anchors. In most UAE apartment buildings, exterior and load-bearing walls are concrete or block; some interior partitions may be gypsum board.
Do I need a center support bracket for a wide window?
For rods spanning much beyond about 60 inches, yes, especially with a heavy lined or blackout curtain — an unsupported center span is where sagging and eventual bracket failure start.
What’s the single most-skipped step in DIY curtain installation?
The tug test after mounting brackets. It takes ten seconds and it’s the only real check that the anchor is actually holding before you commit the full weight of the curtain to it.
Editorial note: Tool and anchor recommendations reflect standard concrete/masonry installation practice as of 2026. Always match the anchor rating to your curtain’s actual weight, and when in doubt about a load-bearing wall or an unusual wall material, consult a professional installer rather than guessing.