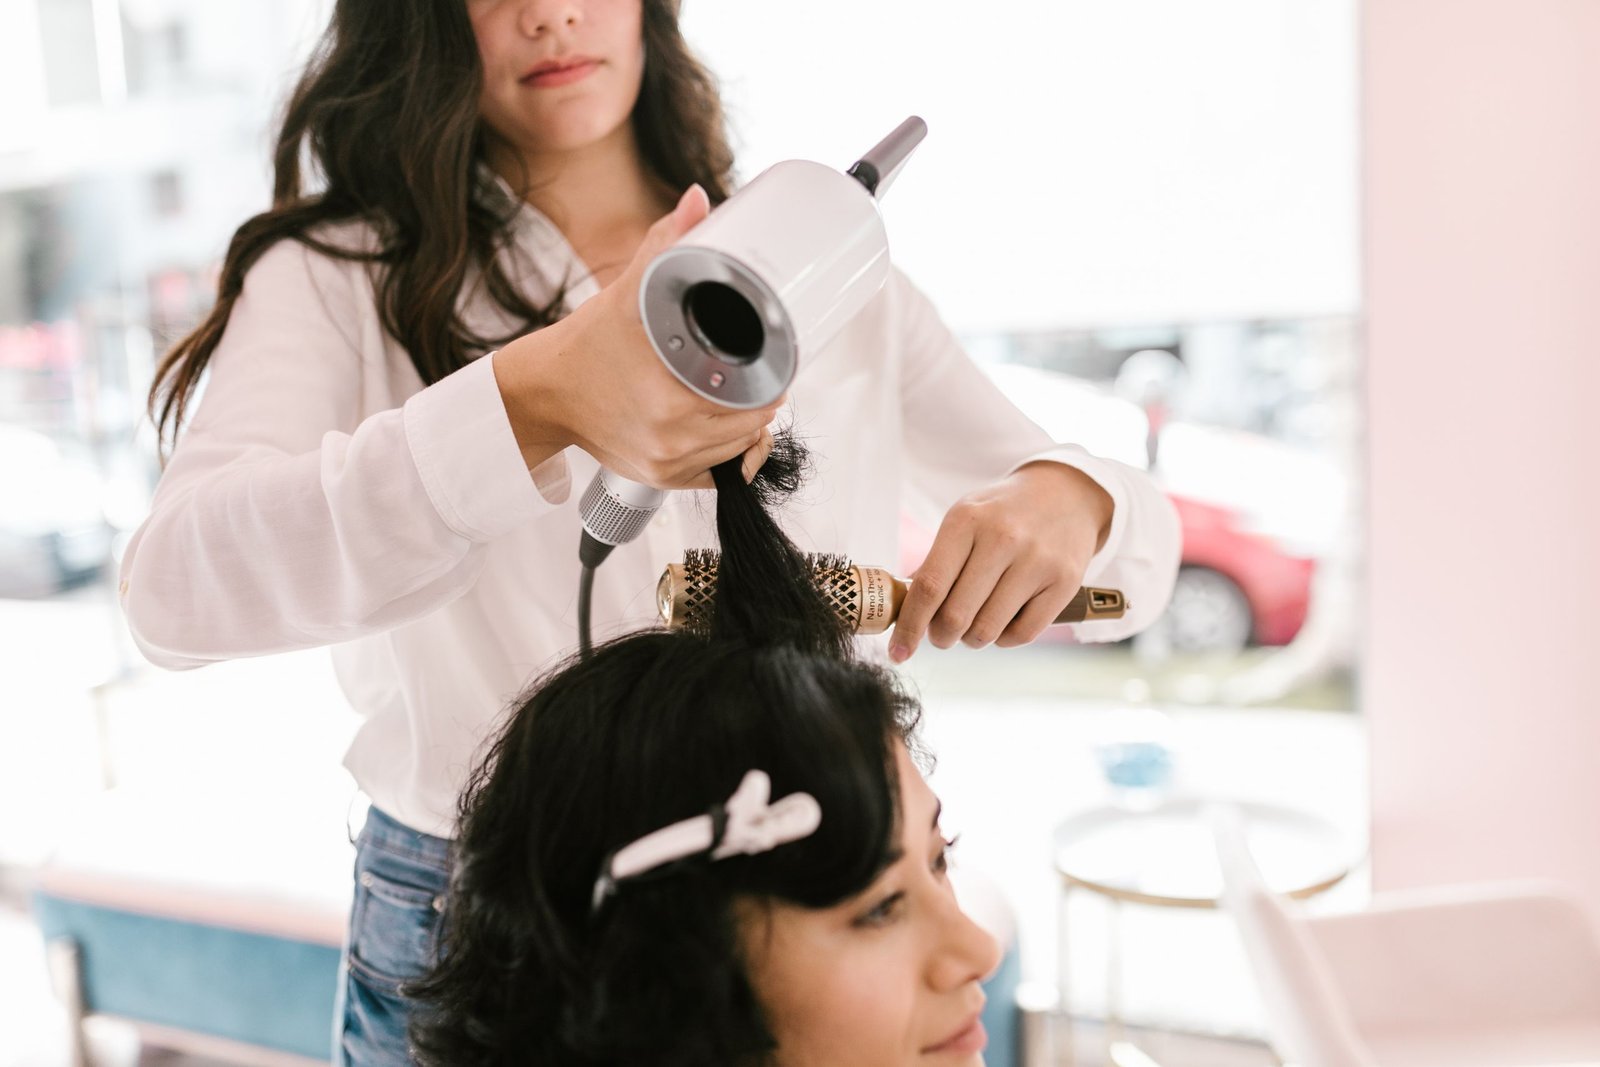
How to Do a Blowout at Home: The Complete Step-by-Step Guide
A blowout is a hairstyling method, not a haircut or a chemical treatment. It uses shampoo, a blow dryer, and a round brush to smooth the hair, build volume at the roots, and create bend or curl through the ends, all without cutting, coloring, or applying heat-activated chemicals. The term covers both the salon service and the technique you can recreate at home with the right tools and a bit of practice.
This guide walks through exactly what a blowout is, the tools it actually requires, a full step-by-step process, and the details (brush size, sectioning, drying direction) that separate a smooth, salon-style result from a frizzy one. If you’re deciding on the dryer or straightener side of your toolkit too, see our guide to choosing the best hair straightener for your hair type.
What Is a Blowout, Exactly?
A blowout refers to styling wet or damp hair into a smooth, voluminous finish using a round brush and a blow dryer, sometimes finished with a flat iron or curling iron for extra polish. It’s temporary. Unlike a keratin treatment or a chemical relaxer, a blowout doesn’t change your hair’s natural structure, it simply styles it, which means it washes out with your next shower.
At a salon, a “blowout” typically refers to a wash-and-style service where a stylist shampoos, conditions, and blow-dries the hair using this round brush technique, often without a haircut. The at-home version follows the same core steps, just without a second pair of hands.
What You’ll Need
- A blow dryer with a concentrator nozzle, which directs airflow in a focused stream rather than scattering it, giving you more control while brushing.
- One or more round brushes in a size matched to your hair length (more on sizing below).
- Sectioning clips to keep hair organized while you work through it in layers.
- Heat protectant spray, applied before any heat styling to reduce damage.
- A volumizing mousse or smoothing serum, depending on whether your priority is lift at the roots or a sleek, frizz-free finish.
- A wide-tooth comb for detangling before you start.
Step-by-Step: How to Do a Blowout at Home
- Wash and condition. Start with clean, damp hair. If your hair tends toward frizz, a sulfate-free shampoo and a lightweight conditioner help avoid unnecessary dryness before you introduce heat.
- Detangle gently. Apply a leave-in conditioner if needed, then work through knots with a wide-tooth comb starting at the ends and moving upward, which causes far less breakage than starting at the roots.
- Apply product and heat protectant. Distribute a volumizing mousse through damp roots, or a smoothing serum through mid-lengths and ends if frizz control is the priority, along with heat protectant throughout.
- Rough-dry to about 80 percent. Flip your head over and blow-dry on a medium heat setting, tousling with your fingers rather than a brush, until hair is mostly dry but still slightly damp. This step alone removes a lot of the drying time you’d otherwise spend brushing wet hair.
- Section your hair. Clip hair into two horizontal sections at the crown, then divide the bottom section into two side sections. Working in smaller sections makes the brush-and-dryer technique far more manageable and prevents any one area from drying unevenly.
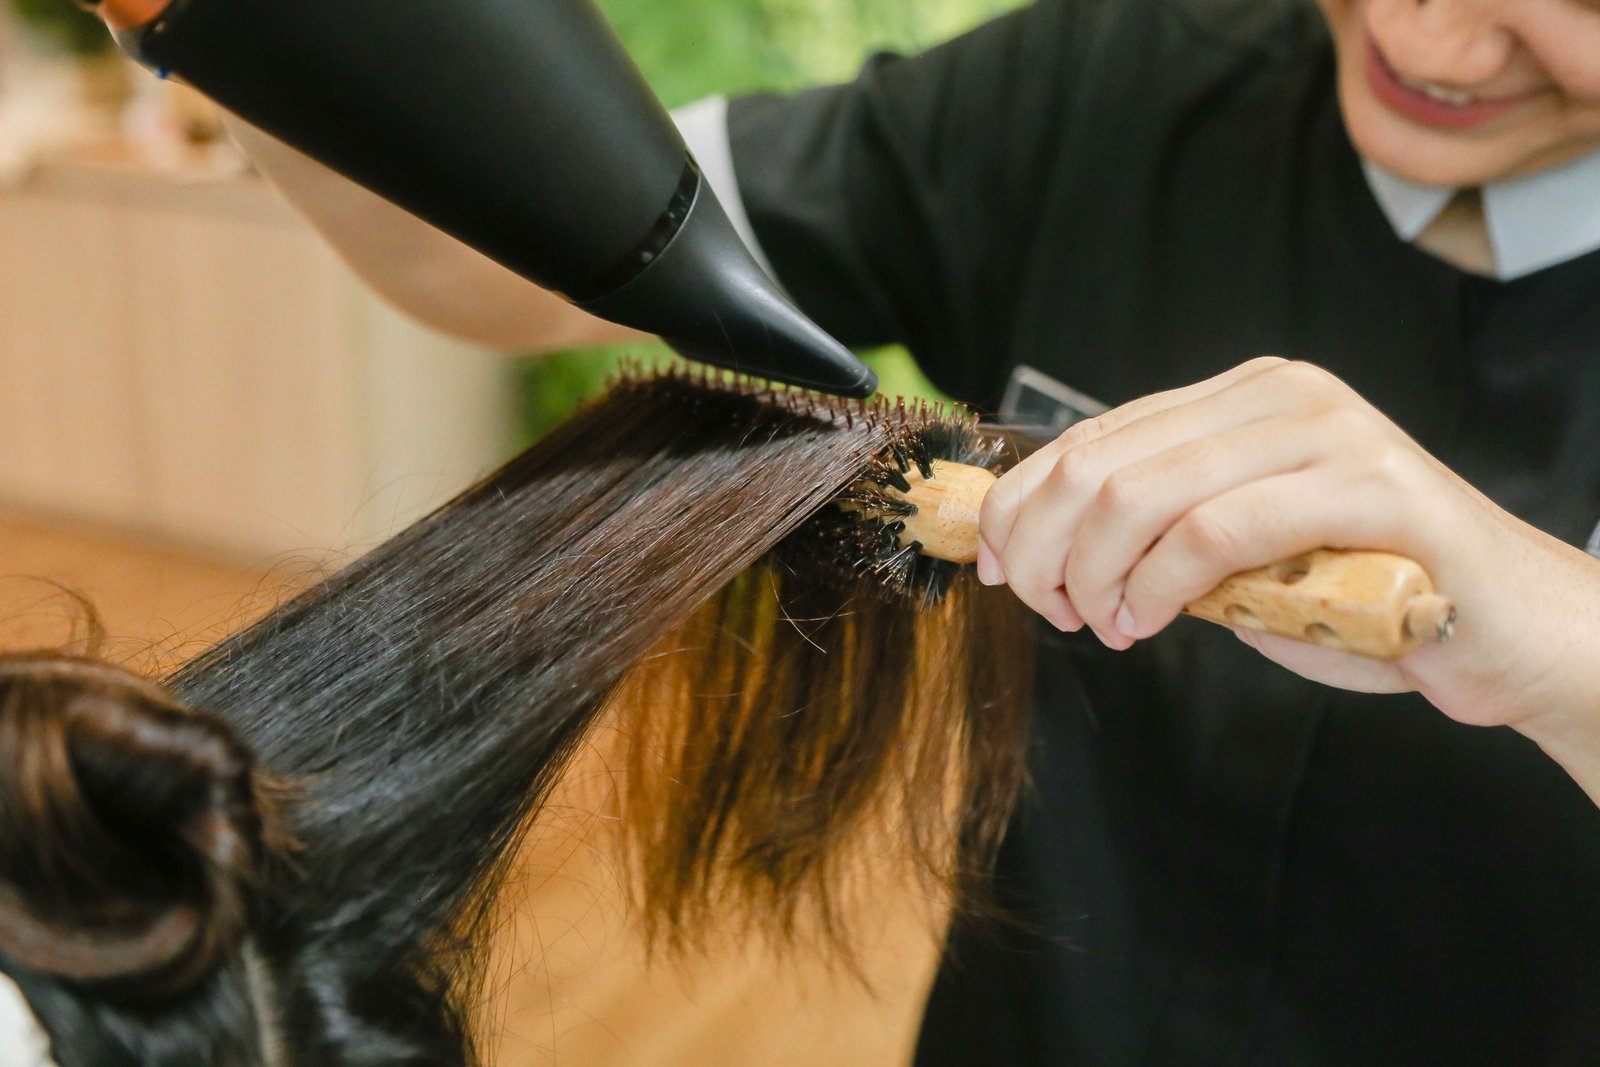
- Brush and dry each section. Take a small subsection, place the round brush underneath it near the roots, and follow the brush closely with the dryer nozzle pointed down the hair shaft (this downward direction smooths the hair cuticle and reduces frizz). Roll the brush under at the ends for a bend, or pull straight through for a sleeker finish.
- Set with cool air. Once a section is dry, a short blast of the dryer’s cool-shot setting (if available) helps lock the shape in place before moving to the next section.
- Finish. Once all sections are dry, apply a small amount of finishing serum for shine and a light, flexible-hold hairspray to help the style last without feeling stiff.
Choosing the Right Round Brush Size
Brush diameter has a bigger impact on the final result than most other variables in this process.
- Small barrel (around 1 inch): Best for short layers, bangs, and tight curl or bend at the ends. Easier to maneuver in short hair but creates more curl than a large barrel would.
- Medium barrel (1.5 to 2 inches): A versatile option for shoulder-length hair, balancing volume at the roots with a soft bend through the ends.
- Large barrel (2.5 inches or more): Suited to longer hair when the goal is smoothness and gentle movement rather than visible curl.
Bristle material matters too. Boar-bristle brushes tend to add shine and smooth the cuticle well on finer hair, while ceramic or ionic-coated barrels distribute heat more evenly, which can cut down on styling time for thicker or coarser hair.
How Long a Blowout Lasts and How to Extend It
A blowout typically lasts two to four days depending on hair type, texture, and humidity, since it isn’t chemically set the way a keratin treatment is. A few habits noticeably extend it:
- Sleep with hair loosely wrapped in a silk or satin scarf, or on a silk pillowcase, to reduce the friction that causes frizz and flattens volume overnight.
- Use dry shampoo at the roots on day two or three rather than washing again, which resets volume without undoing the style.
- Avoid excessive touching or re-brushing, since running fingers or a brush through a finished blowout repeatedly tends to release the curl or bend faster.
- Stay ahead of humidity with a lightweight anti-frizz serum or a humidity-resistant hairspray if you’re somewhere with high moisture in the air.
Common Blowout Mistakes
- Starting on fully wet hair. Skipping the rough-dry step means far more time spent brushing wet hair, which increases both styling time and heat exposure.
- Using too large a brush for short hair, or too small a brush for long hair. Mismatched brush size makes it much harder to achieve the volume or smoothness you’re going for.
- Pointing the dryer nozzle upward instead of down the hair shaft. Airflow pointed against the cuticle roughens the hair’s surface and increases frizz, even with the same brush technique.
- Skipping heat protectant. Regular blow-drying and round-brush styling without protection adds up to real heat damage over time.
- Overloading fine hair with heavy product. Rich creams or oils meant for thick, coarse hair can weigh down finer strands and flatten the volume a blowout is meant to create.
Blowout vs. Other Styling Services
It helps to know where a blowout fits relative to other common salon services:
- Blowout vs. keratin treatment: A keratin treatment is a chemical process that alters the hair’s structure for weeks or months. A blowout is purely a styling technique that washes out with your next shampoo. Curly and coily textures considering either option may also want to compare against our 4A hair care guide, since heat-heavy blowout routines affect curl patterns differently than straight hair.
- Blowout vs. flat-iron styling: A flat iron smooths hair with direct, high heat contact. A blowout relies on the tension and rotation of a round brush combined with airflow, which is generally considered gentler on the hair over repeated use.
- Blowout vs. a full haircut and style: A blowout can be booked on its own, without any cutting, as a standalone styling service.
Frequently Asked Questions
Is a blowout the same as a keratin treatment?
No. A blowout is a temporary styling technique using a round brush and blow dryer. A keratin treatment is a chemical smoothing process that changes the hair’s structure and typically lasts several months, applied separately from any styling.
How long does a blowout usually last?
Most blowouts last two to four days before the style relaxes or needs a refresh, depending on hair type, texture, and humidity levels. Fine, straight hair often holds a blowout longer than very curly or coily textures.
Can you do a proper blowout without a round brush?
A round brush is what creates the volume and bend associated with a classic blowout. Without one, you can still achieve smooth, dry hair with a paddle brush and dryer, but it won’t have the same lift at the roots or curve through the ends.
Does hair need to be washed before every blowout?
Not necessarily. A blowout can be done on second-day hair with dry shampoo at the roots to absorb oil, though starting with clean hair generally gives the smoothest, longest-lasting result.
Why does my at-home blowout look frizzy compared to a salon one?
The most common causes are pointing the dryer nozzle upward instead of down the hair shaft, skipping the rough-dry step, using too small a brush for your hair length, or not fully drying each section before releasing it from the brush.